Getting started
Getting started with CertSeal
Last updated: July 19, 2026
CertSeal turns a spreadsheet of names into personalized, verifiable certificates — delivered by email in a few clicks. This overview shows how the pieces fit together and the fastest path to your first send.
CertSeal helps you design a certificate once, then issue it to everyone at once. You build a template with dynamic fields like the recipient’s name, group your recipients into a batch, and CertSeal renders a personalized certificate for each person and emails it out — with a permanent, shareable verification page for every certificate.
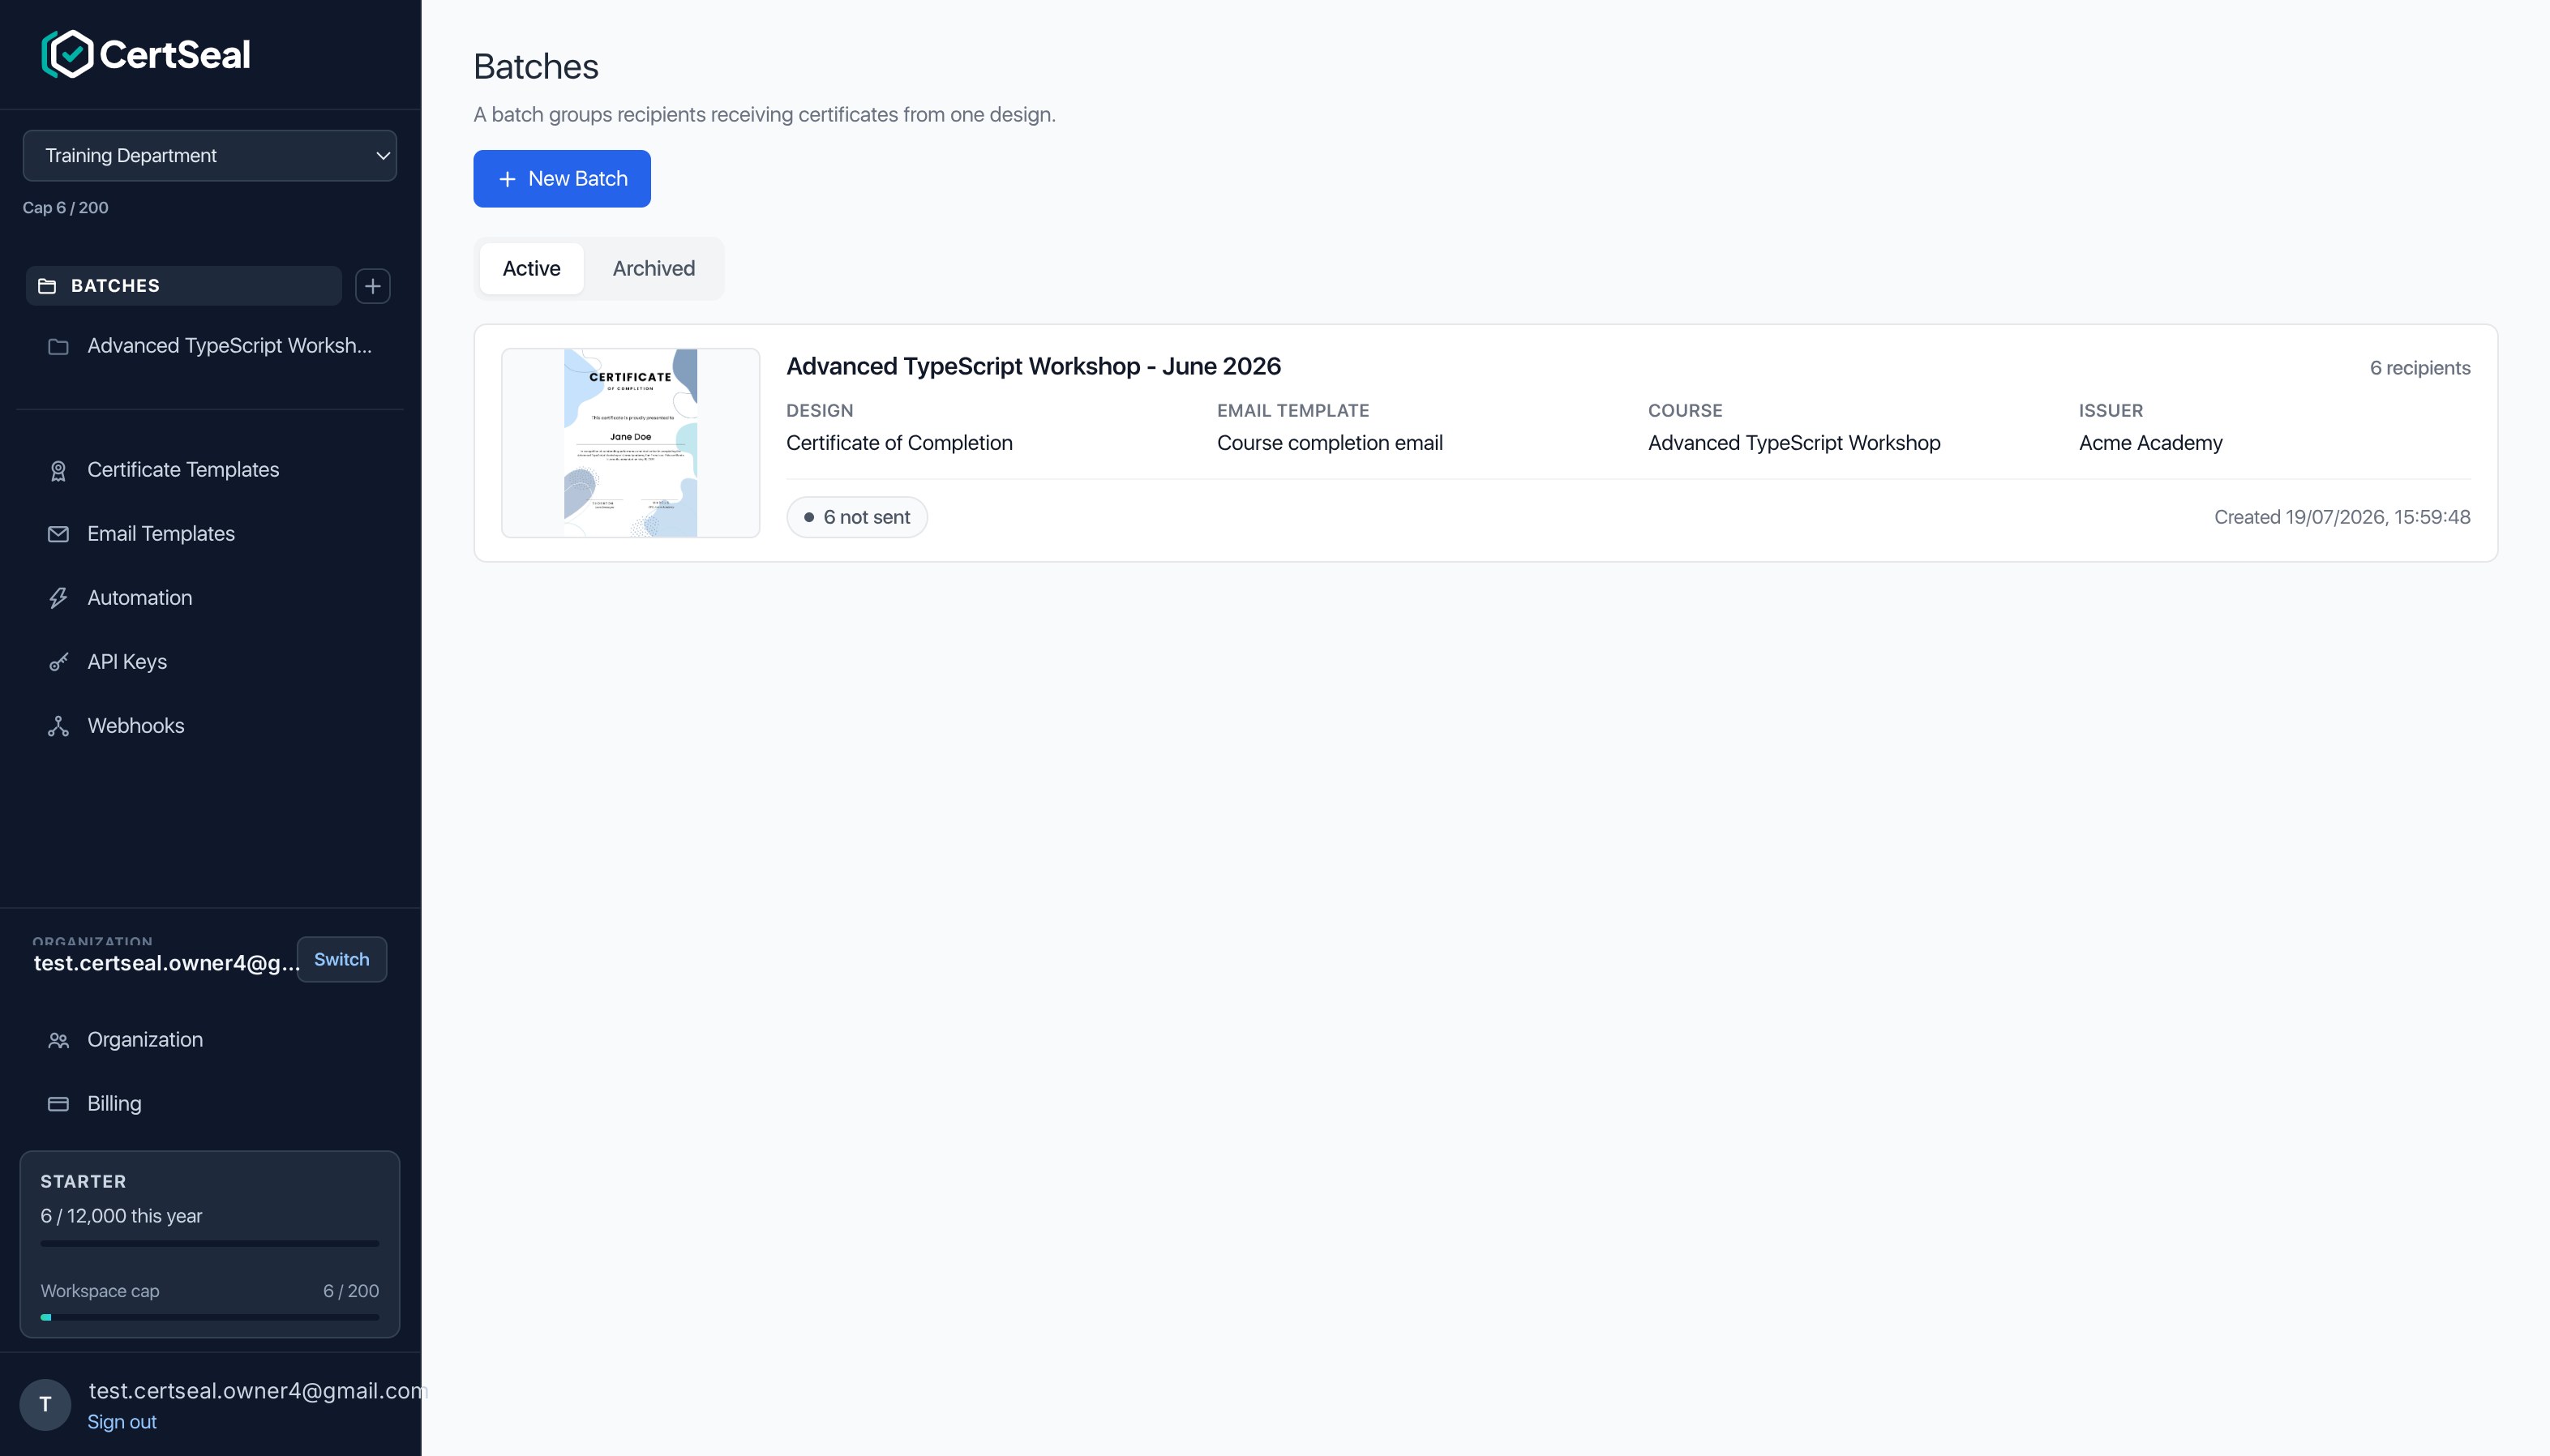
The building blocks
A few concepts, from the outside in:
- Organization & workspace — your billing home and the area that holds your content. Most people start with the single workspace created at sign-up. (See Organizations & workspaces for teams and multiple workspaces.)
- Certificate template (design) — the certificate layout recipients receive: your logo, colors, signatures, and dynamic fields like
{{recipient_name}}. - Email template — the message that carries each certificate, also personalized with
{{variable}}fields. - Batch — a group of recipients who all receive the same design — a class, a cohort, an event roster. A batch ties together a design, an optional email template, and its recipients.
- Recipients — the people in a batch. Each one gets a personalized certificate and a unique verification link.
- API keys — credentials for issuing certificates programmatically from your own systems (LMS, CRM, Zapier, and more).
Quick start
The fastest path from empty workspace to a delivered certificate:
- Create a certificate template. Start from a ready-made design or a blank canvas, then drop in dynamic fields. → Manage certificate templates
- Write an email template. Compose the message that delivers the certificate (optional, but recommended). → Manage email templates
- Create a batch. Give it a title, pick your design and email template, and set the course and issuer names. → Create and manage a batch
- Import recipients and send. Upload a CSV or XLSX of names and emails, review, then send — CertSeal personalizes and delivers a certificate to each one.
Prefer to issue certificates from your own code or automation tools? Create a key and call the REST API. → Manage API keys
Where to next
- Create and manage a batch — the day-to-day workflow: recipients, sending, and statuses.
- Manage certificate templates — the design editor and dynamic fields.
- Manage email templates — subjects, bodies, and live previews.
- Manage API keys — programmatic issuance and key rotation.
Support
Stuck on your first send? Email support@certseal.com and a real person will reply, typically within 1 business day (Monday–Friday, 9:00 AM–6:00 PM SGT). See the support guide for all contact options.